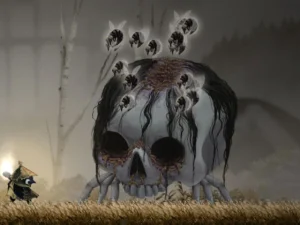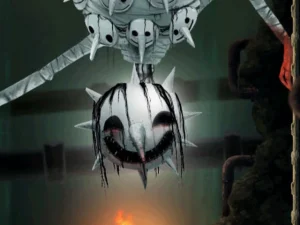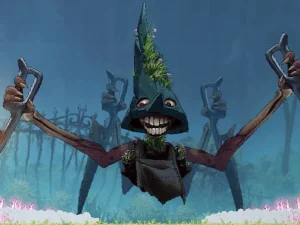
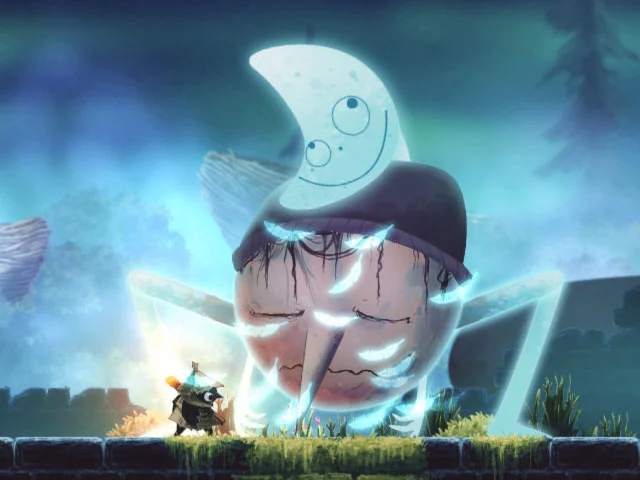
Starsinger is a Well Dweller boss who’s honestly pretty strange. Then again, since the bosses in this game tend to be pretty weird and disturbing… I guess he’s a perfectly normal boss by this game’s standards.
The boss is somewhat tough, especially in phase 2. I’d say he’s probably the hardest one so far, but I’ll also tell you something else: Glimmer’s upgrades really start to show at this point, which I think made the fight quite a bit easier.
By the way, a fun fact: that white singing spirit (the one possessing the hunter) is the kid from the story in the Lookout Tower pages.
Table of Contents
Location: Lookout Tower
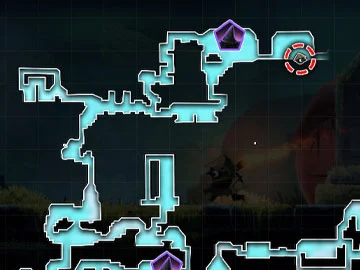
Starsinger is in the Lookout Tower area, specifically at the very end of the route through this area (which is all the way at the top). Before you think about going after him (the area is north of the Night Garden), you should know that you’ll absolutely need the Hover ability to reach both the area and the boss.
Assuming you already have the Hover ability, you’ll now need to explore the whole area thoroughly to find 3 feathers that increase how long you can fly whenever you grab one of those “feather bubbles” that are so common around the area.
You’ll get them without much trouble as long as you explore the area. Each new feather lets you reach previously inaccessible parts of the Lookout Tower, where you’ll find another feather, and so on until the end. Also, the feathers get marked on your map with an exclamation icon when you’re pretty close to them, and the icon stays there. This comes in really handy if, for whatever reason, you pass near one and don’t pick it up.
Phase 1 Attack Guide
The attacks this boss opens with:
- Leaf Toss: The boss moves from side to side across the screen, which doesn’t affect you at all. What matters is that he throws several black leaves at you (they home in a bit), so you’ll need to dodge them by moving, jumping and dashing.
- Leaf Circle: He creates a sort of circle made of those black leaves that heads in your direction and keeps going to the end of the screen (it goes through the wall). You can dash into the circle and dash again to get out of it.
- Red Ball Toss: He throws several small red balls in an arc that land at different distances. Don’t let them hit you; it’s easy.
- Double Red Ball: He throws a pair of big red balls in an arc, one to his left and one to his right. When they hit the ground, they fire smaller balls from the center in straight lines in several directions. The best way to dodge these extra balls is by jumping; hovering in the air helps a lot.
- Red Ball Stream: Starsinger jumps and starts firing a stream of red balls downward while he stays in the air. Just get out of the way. The problem is that 2 more things happen: when the boss lands, he creates energy waves that travel along the ground, which you can dodge by jumping, but at the same time several balls will fall. The idea is to jump and keep hovering while you dodge the falling balls.
Once you’ve taken his health down to about 50%, phase 2 begins.
Phase 2
Phase 2 is the classic phase where the boss keeps the same attacks, but they’re powered up.
- Leaf Toss +: He throws a lot more leaves, so you’ll have to be much more alert to dodge them.
- Leaf Circle +: The leaf circle has a bigger radius, which is actually good for us, so I don’t really get how this attack is supposed to be powered up. A little relief doesn’t hurt, I guess.
- Red Ball Toss +: He throws more balls.
- Double Red Ball +: He also throws more balls, which in turn extends the time you have to hover to avoid taking damage.
- Red Ball Stream +: When the boss jumps he moves around, and now 2 rows of red balls fall from the sky instead of just 1. The strategy is the same, but now you’ll have to be a lot more careful while you hover.
Strategy and Tips
As always, it’s about attacking him as much as you can in between dodging his attacks. The fact that this game has no contact damage is a huge help, honestly. Use the Flaming Vessel whenever you can; it’ll help the boss go down pretty fast.
Trinkets I recommend (the ones I brought to this fight):
- Silver Ring +2: Significantly increases damage dealt.
- Golden Needle +2: Creates a circle of spikes around you when you’re below 100% health.
- Scrap of Fabric +1: Moderately increases attack damage while in the air.
- Silver Spoon: Briefly surrounds you with a protective barrier when you heal. It’ll save you more than once and lets you heal much more calmly, which is priceless.
- Skull Keychain: Emits a barrage of embers when you take damage.
- Nails with Twine +1: I brought it by mistake. It’s useful when exploring, but it doesn’t do much against this boss. Equip something else.
- Hair Pin: I also brought this one by mistake (I was half asleep that day). It’s another one that’s better for exploring, but at least this one is slightly useful in the fight: if you don’t attack for 8 seconds, your next attack deals double damage.
Instead of equipping my “mistakes”, you’re better off using “Cracked Marble” and/or “Rusty Fork”.
Rewards
By the way, when you defeat him you’ll get one of the 7 Golden Feathers. You’ll find it just to the right of where the boss fight takes place.
And that’s it! What did you think of the fight against Starsinger in Well Dweller? Did you find it interesting that he’s the kid from the Lookout Tower story? Leave a comment!