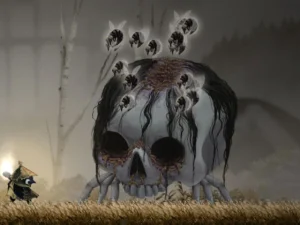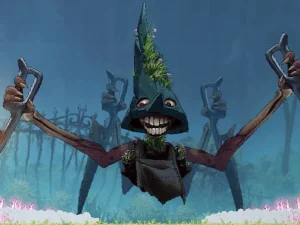
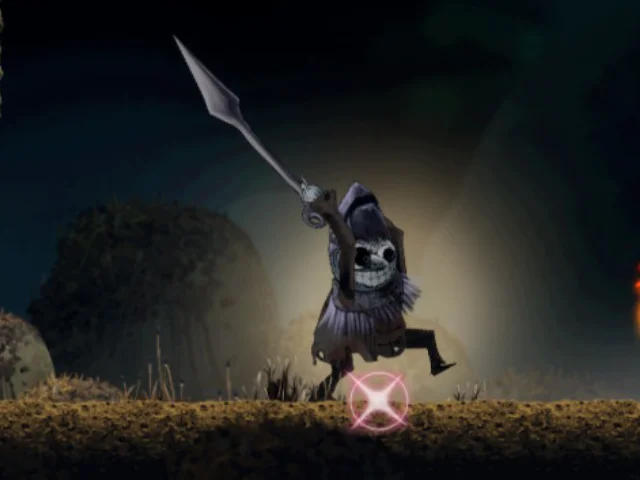
The Colony is another boss in Well Dweller, and it’s the boss of The Depths area. Remember how Barge (the old man at The Docks) told you his sailors had gone missing? Well, here they are, although they don’t seem very friendly.
This boss breaks the “easy first phase, hard second phase” pattern we’ve seen so much in this game’s bosses, which is honestly the most logical way to do it. I guess logic doesn’t apply to this boss, since the first phase is pretty chaotic and quite a bit harder than the second.
Think of it this way: the real challenge is getting through the first phase in the best shape possible so you don’t slip up in the second, which is calmer.
Table of Contents
Location: The Depths
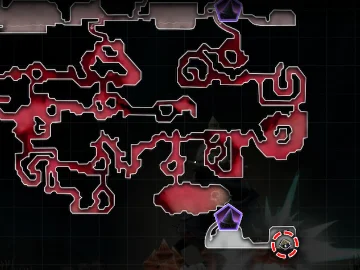
The exact location is the spot in The Depths I’ve marked in the image above, but keep in mind you’ll only be able to get here once you have the ability that lets you use the Water Vessel and the one that lets you fire torpedoes with it.
Phase 1 Attack Guide
Right from the start you’ll be facing several enemies at once that keep appearing and disappearing. This first phase is a bit chaotic. Every time you hit any member of The Colony (the enemies that keep appearing and disappearing), the boss’s health goes down (the boss counts as the whole group of those creatures).
- Front Slash: Suddenly a member of The Colony appears in front of you and gets ready to do a forward sword slash that you need to dodge (I recommend dashing through it and then hitting it from behind, as long as there isn’t another member of The Colony giving you trouble). Keep in mind that after the slash, a shockwave travels forward along the ground; jump if it’s about to hit you.
- Spear Volley: One of the members appears in the air on one side and throws several spears at you in an arc. Don’t let them hit you.
- Double Slash: A member appears on each side of the screen, and both use Front Slash. Dodge the energy wave by staying in the middle of the screen and using Hover.
- Spike-Tossing Charge: A member charges from one side of the screen to the other while throwing spikes upward that will fall back down and that you need to dodge. Take the chance to hit it while it’s moving, just watch out for the spikes. Dashing right before one of the spikes hits you can really help (dodge toward the open side).
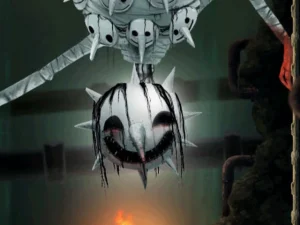
Once you take its health down to 50%, the members sort of fuse into a single, much bigger creature, and phase 2 begins.
Phase 2
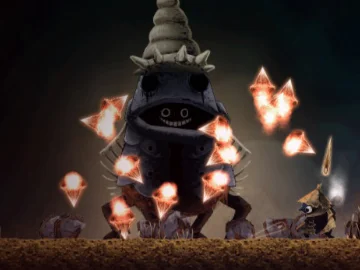
Its attacks are quite different. In this phase, what it does most is throw the spikes you already know in different ways.
- Spike-Tossing Charge: More or less the same attack, except it moves normally. What doesn’t change is how the spikes behave: it throws them upward and then they fall.
- Spike Toss: It throws several spikes at Glimmer that you need to dodge using your dash, jump, Hover… It’ll throw several of them one at a time, and watch out, because they slightly home in on Glimmer, so you’ll have to play with its movement and yours to avoid them properly. Getting closer to it helps quite a bit.
- Spiky Leap: It takes a big leap and then bounces several times. Every time it bounces, it throws several spikes upward (at short range). The best thing to do is stay away from it during the whole move and dash along the ground if it’s about to hit you (to go underneath it) on one of the bounces.
Strategy and Tips
As always, the priority is to survive, but in phase 1 try to keep hitting it whenever you can. The best moment is when it uses the Spike-Tossing Charge attack, and it’s also the best moment to throw the Flaming Vessel at it.
Strange as it sounds, phase 2 is even easier, so try to get through the first one in the best shape possible and phase 2 won’t be a problem.
Trinkets I recommend (the ones I brought to this fight):
- Silver Ring +2: Significantly increases damage dealt.
- Doll’s Head: Increases the range of your matchstick attacks.
- Golden Needle +2: Creates a circle of spikes around you when you’re below 100% health.
- Scrap of Fabric +2: Significantly increases attack damage while in the air.
- Cracked Marble +1: Moderately increases damage dealt when you’re at full health.
- Skull Keychain +1: Emits a medium burst of burning embers when you take damage.
- Bundle of Hair: Your downward air strike creates a burst of embers.
- Pearl Jewelry: Refills your vessel every time you take damage.
- Blue Bow: A new discovery that comes in really handy and is quite a bit better than the Silver Spoon. You automatically heal (using an Oil Vial, of course) when you’re about to die from a hit.
Rewards
Two rewards, and both of them are really good:
- You’ll find Thistle and Thimble, your two little sisters.
- You’ll complete Barge’s quest (the one about finding his sailors), and he’ll give you the Endless Climb ability (you can guess from the name: now you can climb as much as you want).
And that’s it! Were you surprised that phase 1 of this Well Dweller fight is harder than phase 2? Did the plot twist about these being Barge’s sailors catch you off guard? Leave a comment!